This process may vary depending on the country and the type of account you have chosen.
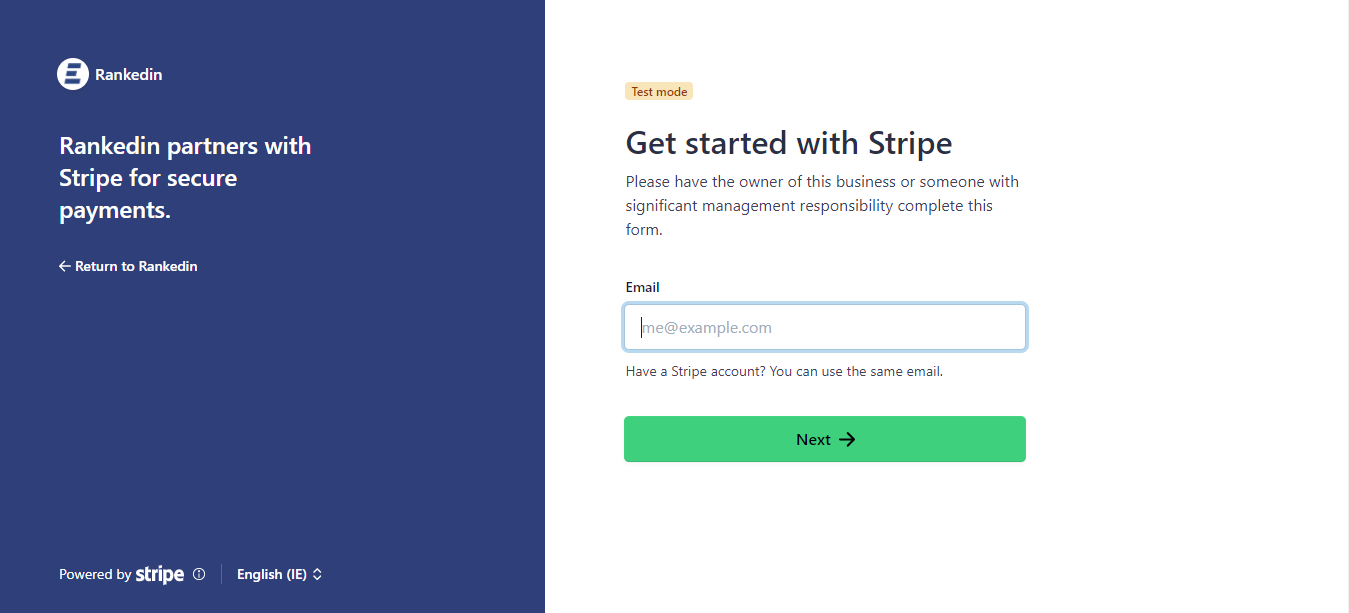
An example process is shown below - Country Norway, account type: Private Person:
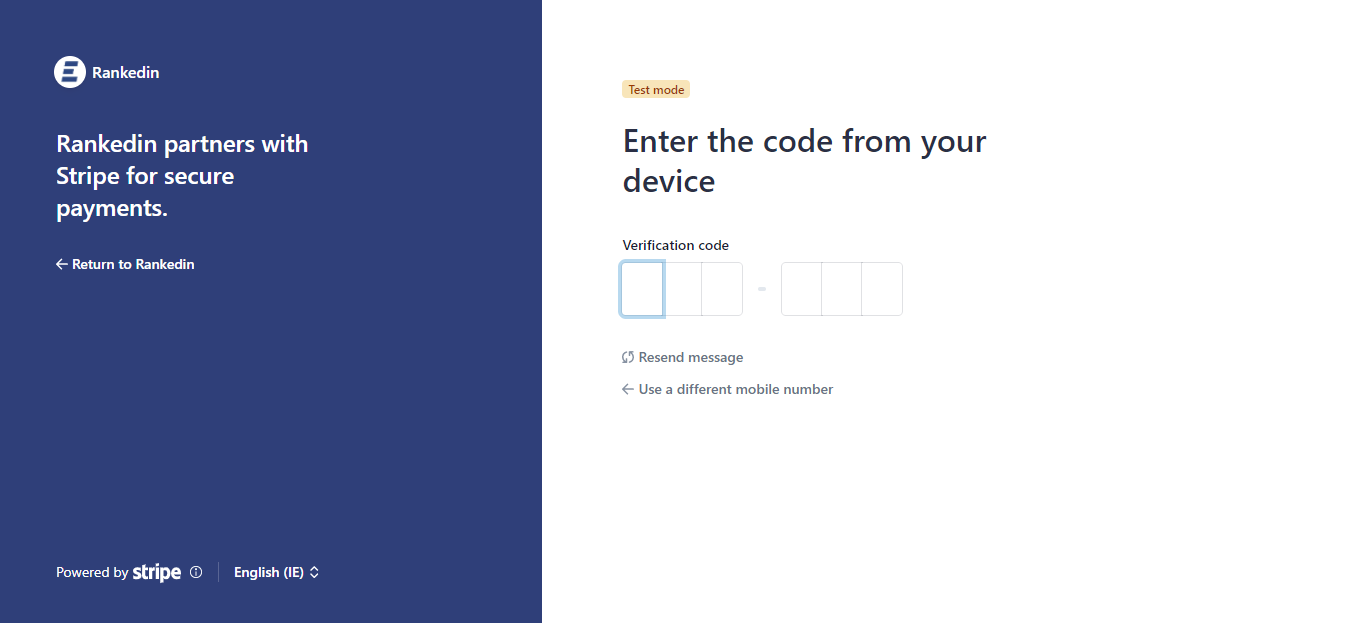
From here you will be asked to enter your email address, create a password and also add your mobile phone number. A six digit verification code will then be sent to your phone via sms message.
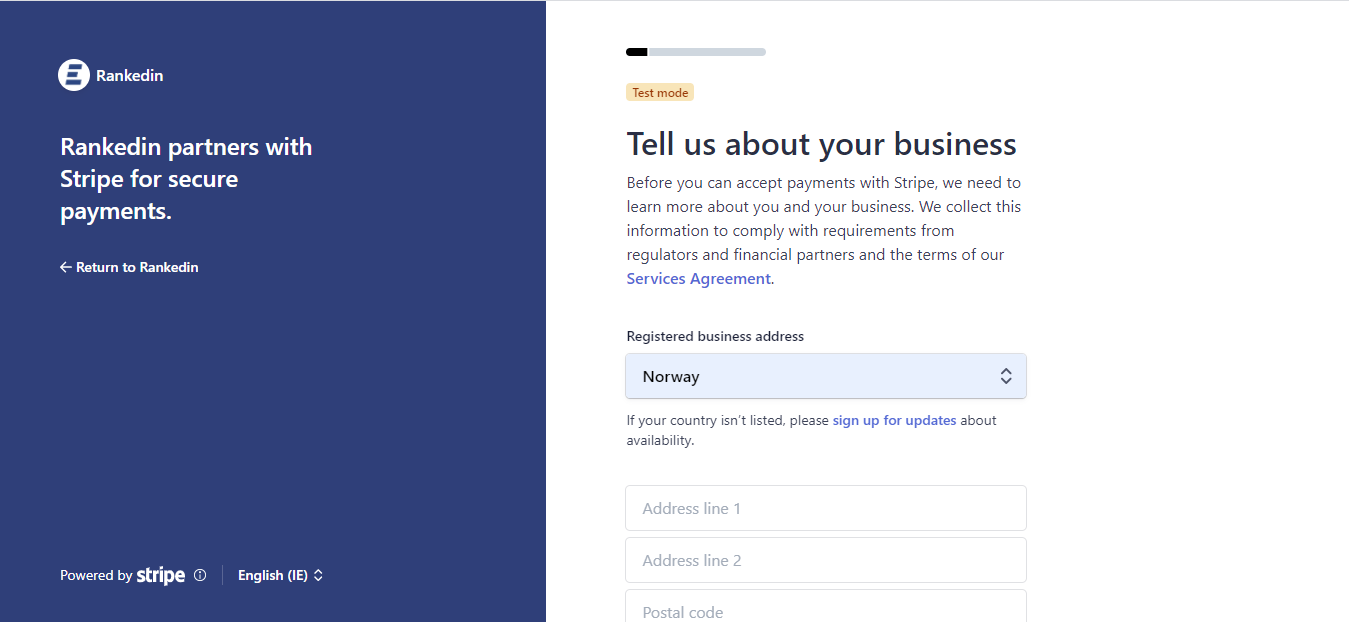
Once verified, your account is secured and you can then add some of the details that pertain to your organization, such as country, exact address and type of business (personal, business or non-profit)
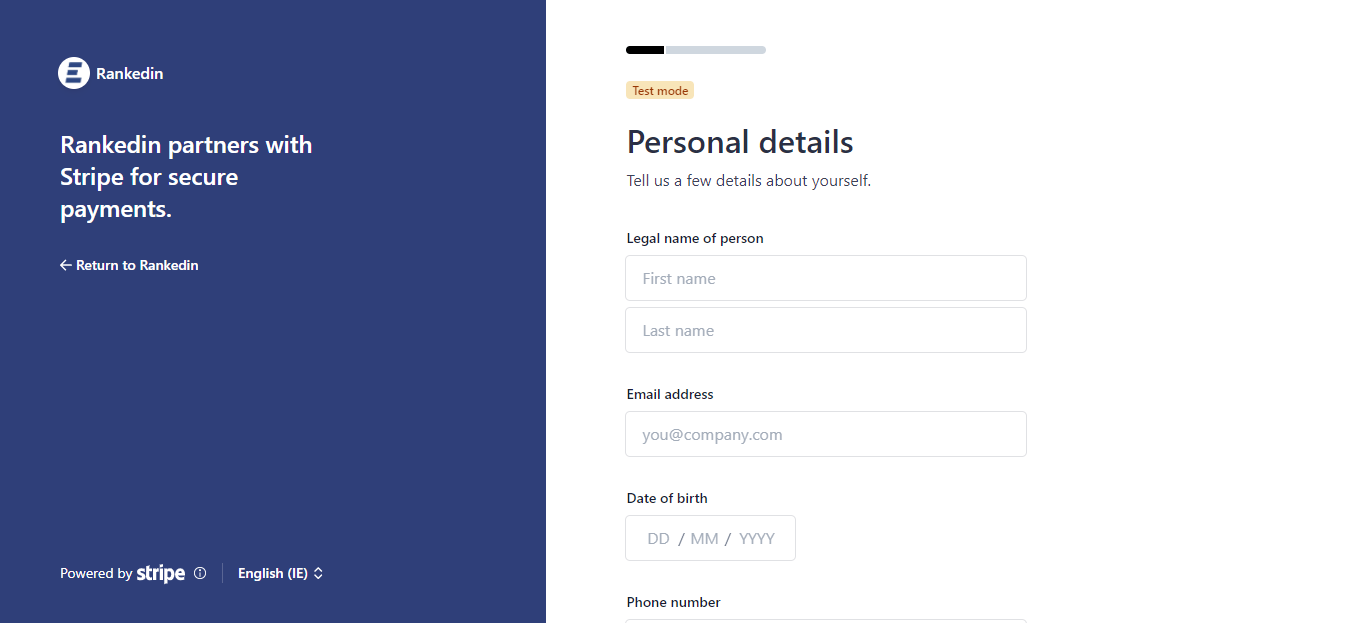
Next you must add your personal details, such as, name, email, date of birth and phone number.
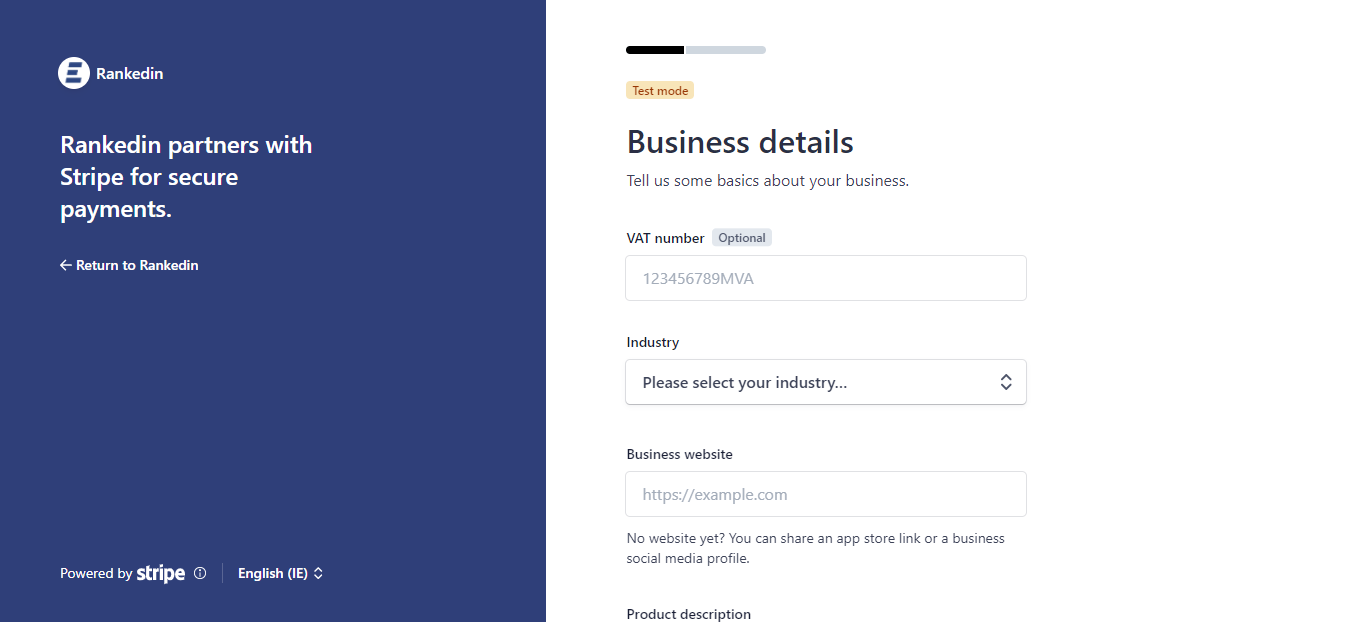
Now add more details regarding your business, like, VAT number, industry in which the business operates, website and product description.
Next up is adding your bank account details for payouts. You must select the type of currency, add the IBAN number and then confirm the IBAN number a second time.

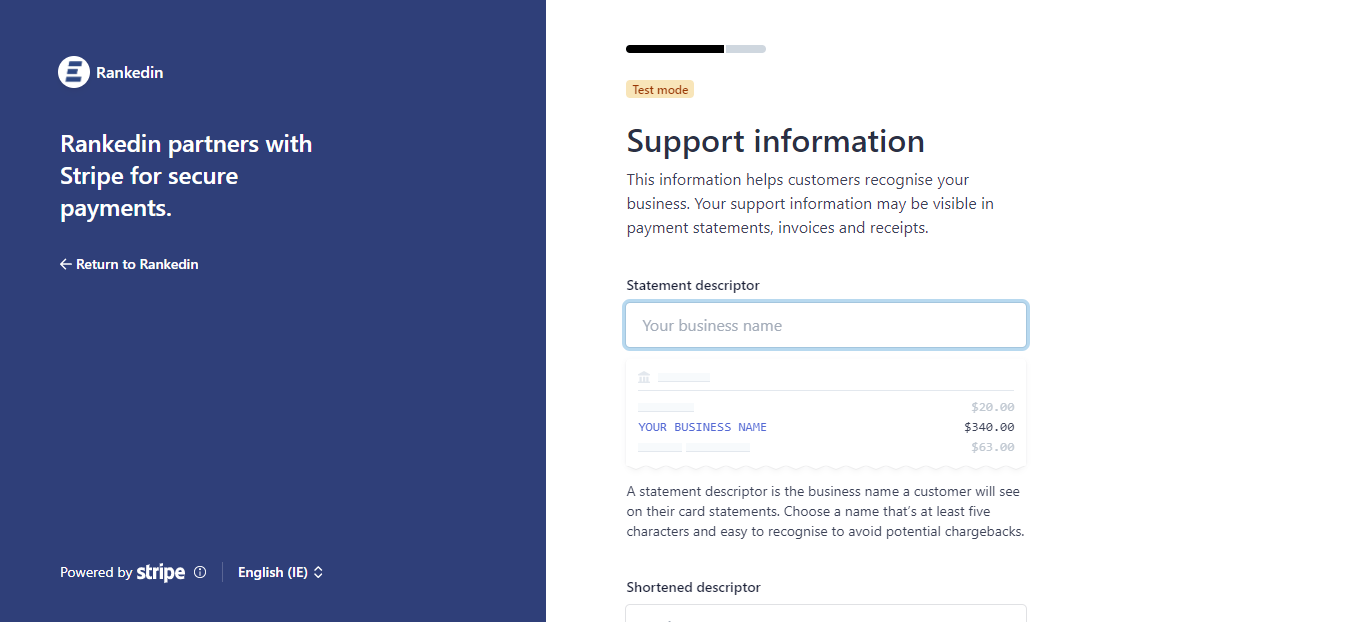
Next step is to add the support information; You must add a statement descriptor, a shortened statement descriptor and also a customer support phone number.
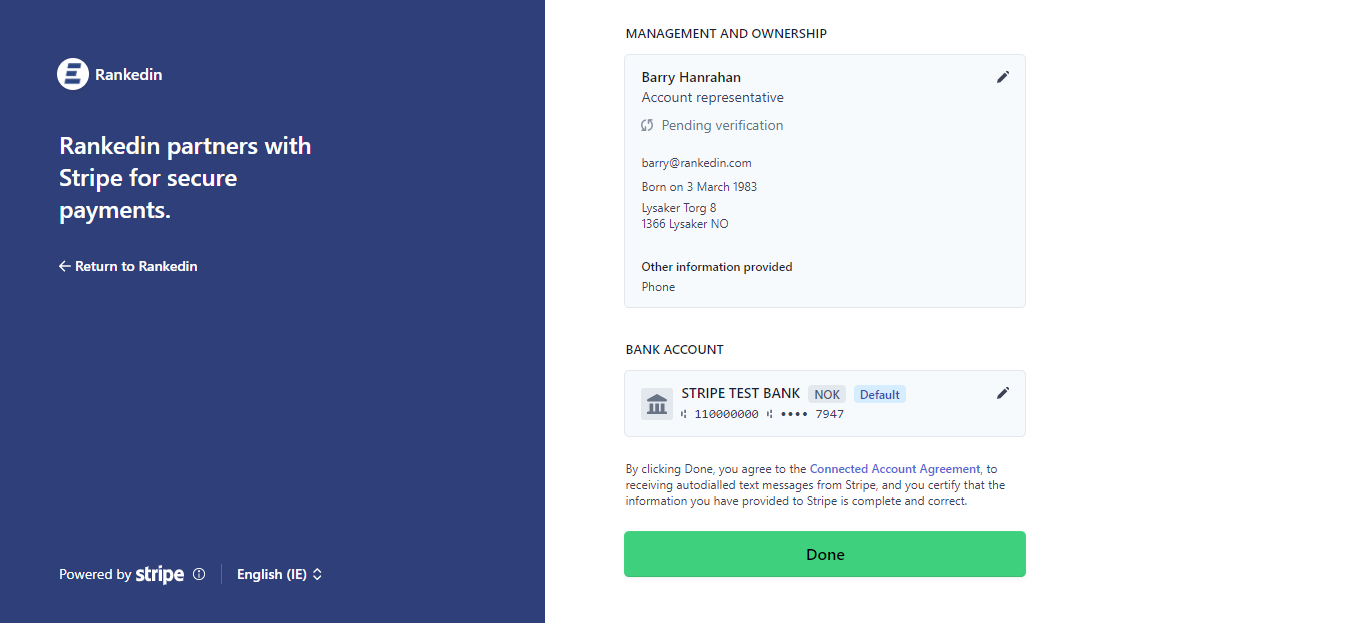
The last step is to review that all of the details you have entered up until this point are correct, if that is the case click on done. You will then be redirected to Rankedin.
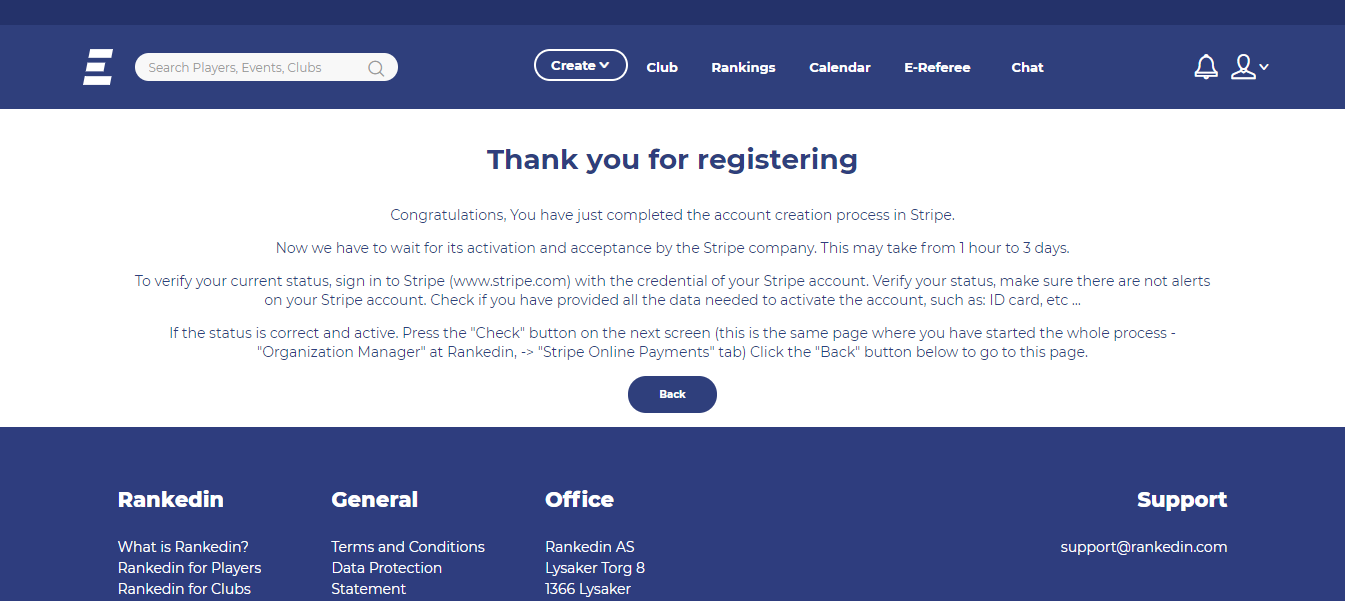
To verify your current status, sign in to Stripe (www.stripe.com) with your credentials and check the notifications. You might be asked to provide additional data. If you need help check The User Manual: Verify Stripe Dashboard
Once your Stripe account is active, go to your Organization Manager Page and click the "Check" button to finalize the integration with Rankedin.